


Maintenance & Tips
RC car body painting – what you should know?
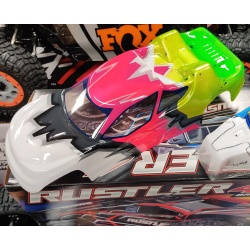
Once you’ve found your feet in the modelling world, you’ll definitely need to get a new body for your car at some point. Either because the body that came with the model is hopelessly broken, or simply because you want a car with a more personal paint scheme. However, many people looking for a body are surprised to find that a very large share of bodies are unpainted. Model bodies come in two main types – clear polycarbonate bodies, made by vacuum forming, and bodies made of ABS or other similar plastic, so-called hard bodies. Polycarbonate is a type of colourless, transparent plastic that is quite impact-resistant, bends well and is lightweight. A plastic hard body is rigid, made of considerably thicker material and is heavier. Hard bodies are mainly used as aftermarket products for crawler-type models. The key difference between a polycarbonate body and a hard body when it comes to painting is that a hard body is painted from the outside, just like real cars, whereas a polycarbonate body is painted from the inside. Painting a hard body is technically the same as regular painting, and we won’t focus on it any further in this article; instead, we’ll look at the specifics of painting a polycarbonate body.
RC car body painting: choosing the right paint
The first cornerstone is choosing the right paint. Not just any paint sold in shops is suitable for polycarbonate and RC model bodies in general. Special paints are produced for polycarbonate, formulated to adhere to the material’s surface and remain flexible even after drying. If you use the wrong type of paint, there is a high risk that it won’t adhere to the polycarbonate surface and will start to crack and peel off the body on impact. In the worst case, the paint reacts with the polycarbonate and starts to melt it. So the first step is to be aware that you need to choose paints made specifically for painting polycarbonate.
Spray paints or airbrush?
Paints are further divided into two groups based on how they are applied to the body – spray paints and airbrush paints. The former are sold in pressurised cans, like aerosols always are. Airbrush paints come in smaller bottles and are generally used with an airbrush. Since an airbrush also requires a compressor and other accessories, a beginner body painter will usually use spray paints. Broadly speaking, it doesn’t make a huge difference which option you use, as the process is similar. Both types of paint are sprayed onto the body; an airbrush simply allows more precise work.
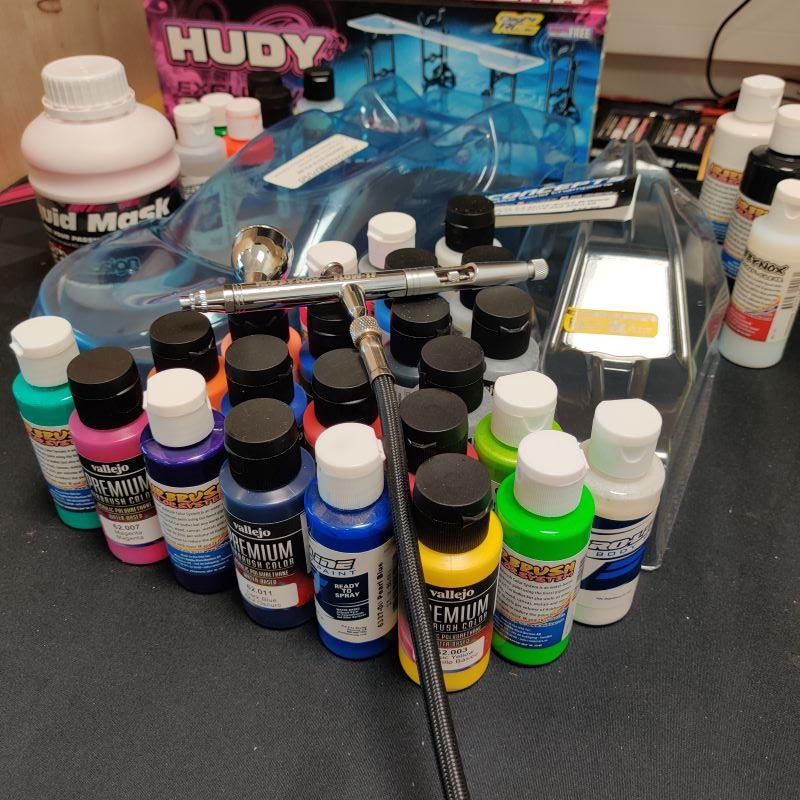
Photo: bodies being painted, a jar of liquid mask, airbrush paints and an airbrush
Design and preparing the body
Once you’ve chosen suitable paints and a body, the next step is to come up with a design. You can look for inspiration online. It’s also a good idea to develop your artistic eye a little and learn the basics of colour psychology – every colour has complementary colours and colours it harmonises with. The neutral colours are black and white (or shades of grey), which go with any other colour. Polycarbonate bodies are painted from the inside. A new body has a protective film on the outside, designed to protect the outer surface from paint overspray. You can conveniently draw your desired design on this film with a marker and write which colour you want to spray in which area.
Alongside choosing colours and working out the design, the body needs to be prepared for painting. To do this, it first needs to be washed clean with warm water, a washing sponge and soap to ensure a clean surface for the paint to adhere properly. The washed body should be dried immediately with a cloth that doesn’t shed particles, such as a microfibre cloth or soft paper towel. The body should then be placed on a clean surface with the outer side facing up, to prevent dust and other airborne particles from settling on the freshly washed surface.
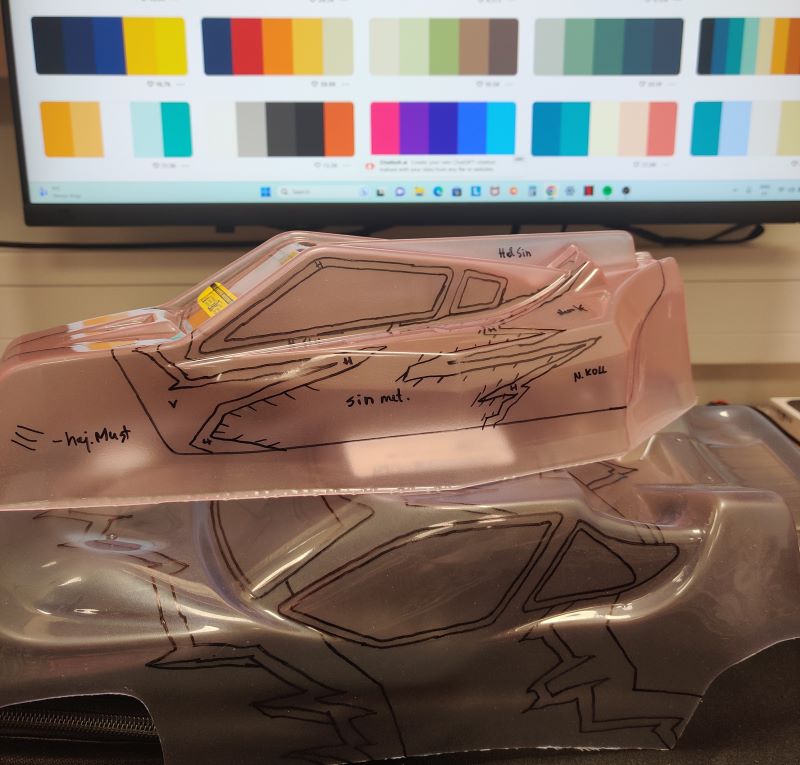
Photo: bodies treated with liquid mask, with the design drawn on the outside
Masking
Drawing the design on the outside of the body, as mentioned earlier, should be done after washing and drying the body. Once the design has been worked out and the body is getting more than one colour, masking is usually needed. This means covering all surfaces except the one you plan to paint first with the first colour. You can use painter’s tape for masking, for example. There is also so-called liquid mask, which is applied to the body in a similar way to paint. As a rule, bodies come with window masks that the body manufacturer has pre-cut at the factory, and if you use tape for masking, the window masks should be stuck inside the body over the windows first. Then the rest of the body should be covered with masking tape according to the design, leaving unmasked only the areas to be painted first. With each subsequent colour, you remove the corresponding layer of masking tape until the body is painted.
Liquid mask
Liquid mask works on a similar principle to tape, but offers better options for transferring the design onto the body. Liquid mask is sprayed or brushed onto the inside of the body in 2–3 coats after washing, and left to dry. It forms an even, thin, film-like layer. The dried mask is then cut with a knife along the lines drawn on the outside of the body into areas, which are peeled off and painted one colour at a time. Liquid mask is mainly used with water-based airbrush paints. There have been cases where spray paint reacts chemically with liquid mask.
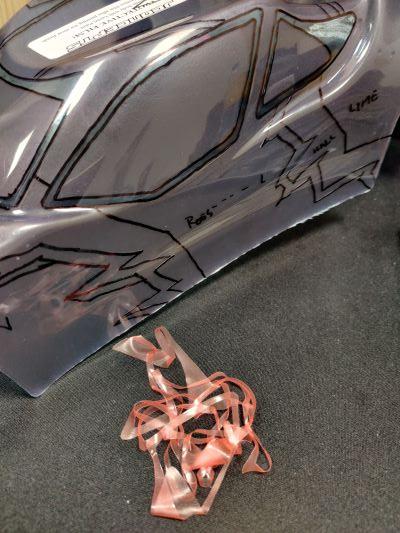
Photo: a body with the liquid mask removed from the area of the first colour (window frames)
Painting
The rule when painting is that dark colours are painted first and light colours last. You can also do it the other way round on purpose. A dark colour (e.g. black) behind a lighter colour makes the lighter colour darker. Polycarbonate body paints are mostly translucent. The “poor” coverage is a surprise to many first-time painters. Different types of paint also behave differently and may not work on their own. For example, neon paints definitely need a white backing to achieve the right glow. So-called Candy paints are also tricky, as they too need a backing colour, which significantly affects the final look of the paint. This is getting quite complicated, and that’s not the aim of this article – back to the basics.
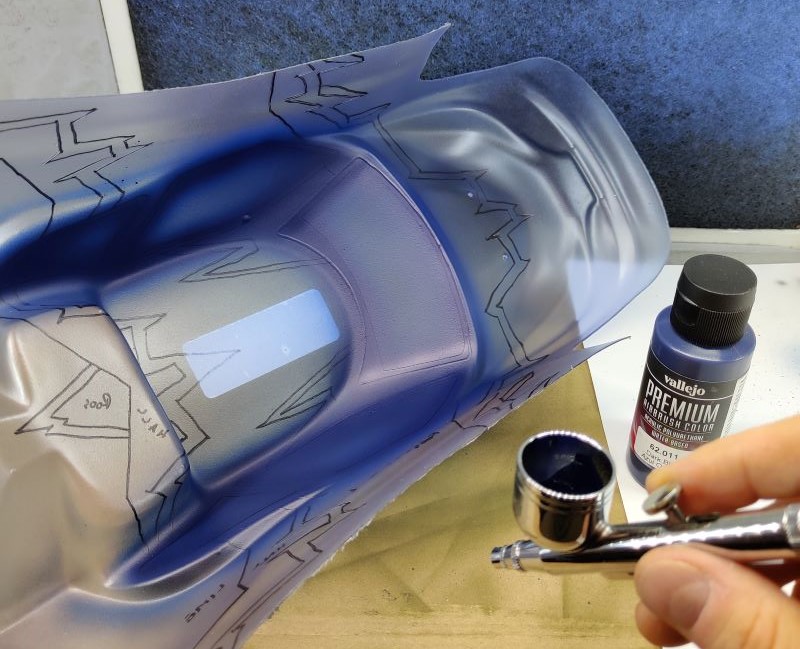
Photo: painted window frames
Paint should be applied to the body in several thin coats. The first coat in particular should be very thin. It forms a bonding layer between the body surface and the following coats. If the coat of paint is too thick, the paint will start to run on the surface and may crack as it dries. Each coat of paint should be allowed to dry before spraying the next one. You can speed up drying with a hairdryer, for example.
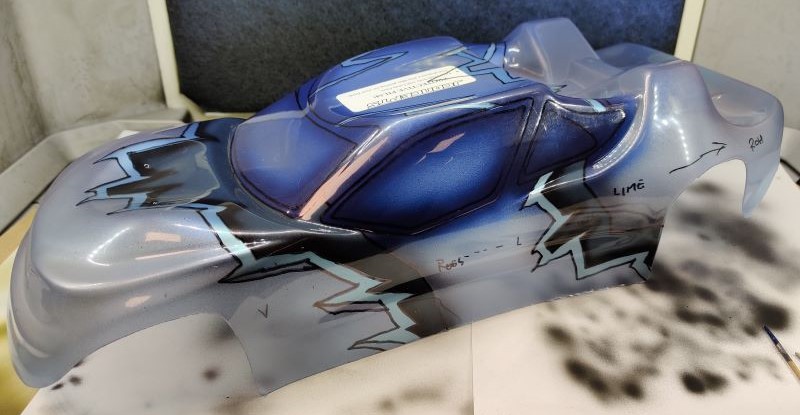
Photo: a body with a total of 4 colours. Still looks a bit strange?
Safety when painting
Spray paints are toxic and should be used in a well-ventilated but wind-free place. This can be an indoor room with very good ventilation, preferably with a fume hood. Personal protective equipment should definitely be used – a respirator, as inhaling paint is seriously harmful to health. In calm weather, you can also paint outdoors.
Airbrush paints today are mostly water-based and not directly toxic, but inhaling the pigment is still not a good idea. So even when painting with water-based paints, you should use a fume hood and a respirator.
Backing colour
Painting usually ends with spraying a backing colour, which covers the entire painted body with one even coat. White, black or silver is usually used. The most common of these is white. Often a body painted with airbrush paints is finally sprayed over with white spray paint, as this forms a stronger and more durable paint layer. Airbrush paints can also be covered with a suitable varnish as the final coat to make the paint surface more durable.
Finishing: trimming, protective film and decals
After painting, there are still a couple of things to do before the body can be fitted to the model. Most bodies need to be trimmed, i.e. the excess material removed from the edges of the body. This can also be done before painting – it depends on what you prefer. Special scissors make trimming easier.
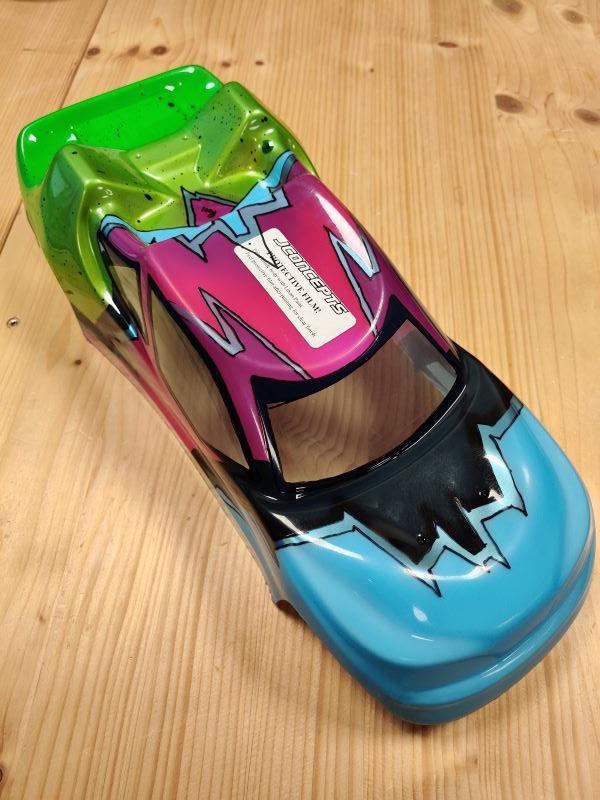
Photo: a fully painted body before removing the outer protective film
Next, you can remove the protective film from the outside of the body to see your achievement in all its glory. Depending on the body, it comes with more or fewer decals to decorate it with. After removing the protective film, it’s time to apply these to the body as well. There are several known cases where decals have been stuck onto the protective film. When driving the model, the protective film will gradually start to peel off over time, and in that case the decals will come off together with the film.
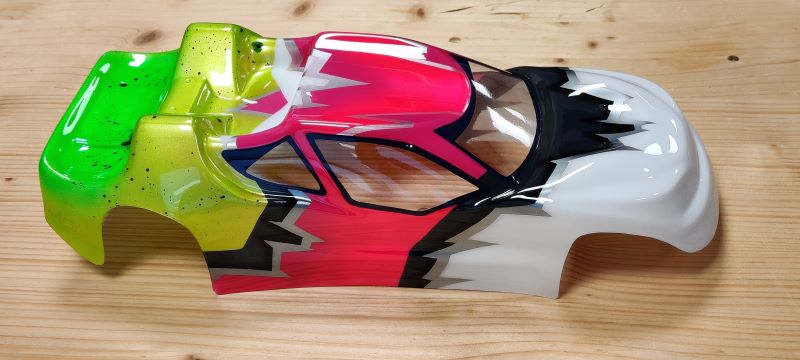
Photo: the same body after removing the protective film
Body painting as a service
Sounds like a lot of fiddling? It really is. Preparing, masking, designing and painting a single body, along with everything else involved, can easily take a full working day’s worth of hours. That’s why painting as a service is relatively expensive, but considering the hours that go into it, not really that much. ClayPitRC also paints bodies as a service for the bodies we sell. Our body partner is JConcepts, which offers a wide range of bodies for both racing models and bashers.
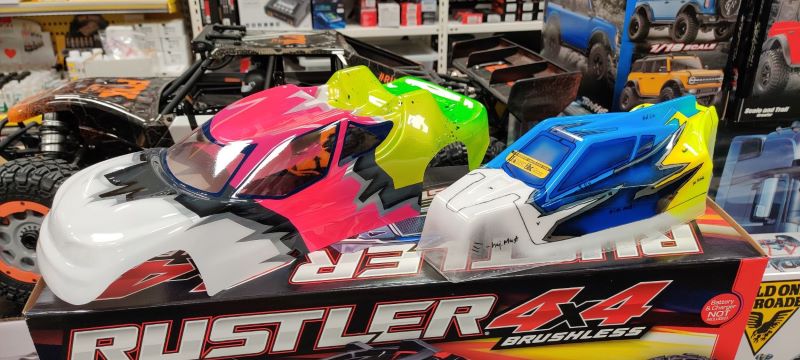
Photo: a 1/10 truck body and a 1/10 buggy body, not yet trimmed and with protective film
